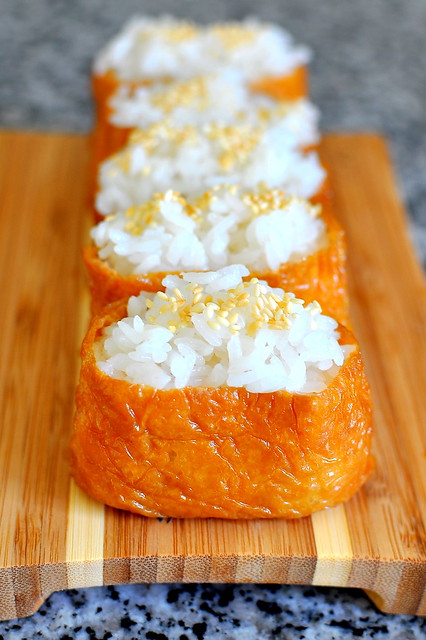
Easy Tempura Shrimp Crunch Roll Sushi Recipe

Experience the contrast between the taste and textures of rich avocado, fresh cucumber, Japanese sticky rice and delectable tempura battered shrimp. Sarah’s Super Duper Tempura Shrimp Crunch Rolls are both nutritious and delicious. This recipe delivers an unmatched flavor profile while maintaining a clean and simple finish.
Since this sushi recipe does not include raw ingredients, it may be sampled by the entire family without fear of food borne illness.
Sarah’s Super Duper Tempura Shrimp Crunch Rolls
Difficulty: Easy
Preparation and Cook Time: Approximately forty-five minutes
Ingredients:
- 3 cups short grain Japanese rice
- 3 1/2 cups water
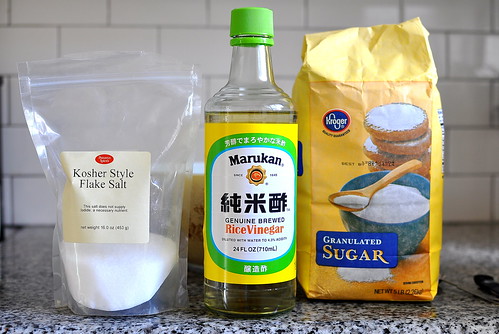
- 1/3 cup Japanese rice vinegar
- 3 tablespoons granulated sugar
- 1 teaspoon salt
- 1 medium cucumber cut into slender narrow pieces.
- 1 avacado cut into 1/2 inch wide segments.
- 1 package of Nori (sea weed sheets)
- 1/2 pound fresh, large, uncooked shrimp
- 1 box of tempura batter
- Vegetable oil
Note:
It is helpful to cook the sushi rice in advance and allow it to stay warm while preparing the other ingredients. The execution portion of this recipe will explain how to make sushi rice before moving on to the preparation of the sushi filling. For inexperienced chef’s it is best to complete the rice before preparing any other ingredients.
Rice Execution:
- In a large sauce pan combine 3 1/2 cups water with 3 cups of washed short grain Japanese rice; bring to a boil.
- As rice approaches a rolling boil, cover and reduce heat to low; steam until tender.
- As rice nears completion, heat vinegar, salt, and sugar in a saucepan over low heat until sugar dissolves then allow mixture to cool.
- Fold vinegar mixture into cooked rice; be careful not to crush the grains of rice during this step. Now the rice is finished
Shrimp Execution:
- Fill a large sauce pan with approximately two inches of vegetable oil and preheat to 350 F.
- Thoroughly clean and shell the raw shrimp before cutting each shrimp in a manner that ensures that they will not curl up during cooking. Do this by running a sharp knife down the center of the shrimps body; exactly opposite its vein.
- Following the instructions on the tempura box to create tempura batter.
- Once oil is heated, dip the shrimp into the tempura batter and then place directly into oil.
- Cook the shrimp until the tempura batter is golden brown and crunchy.
How to Roll Sushi:
- Place the bamboo sushi rolling mat with one of the shortest sides facing your body. Next, firmly spread a thin layer of sushi rice onto the bamboo mat; cover with a sheet of Nori.
- Now, place several pieces of avocado and cucumber on the closest edge of the bamboo mat. No more than two inches of the available space on the mat should have avocado or cucumber laying on it.
- Place the cooked shrimp on top of the cucumber and avocados with their tail pointed away from the center of the mat.
- Now, slowly and in a controlled manner, use the bamboo mat to roll the sushi roll. Be careful to maintain a tight roll and not to allow pieces to fall out of the edges.
- Finally, you should be left with a long roll of sushi; rice sticking out. Roll the freshly made sushi roll in the tempura scraps that were set aside earlier while cooking the shrimp. The pieces should stick to the roll, adding scrumptious flavor and texture.
- Cut the roll into one inch thick pieces and serve immediately; enjoy!


